- Skip to main content
- Screen Reader Access
- Skip to navigation
- Text Size
- Select Theme Default Theme Yellow Theme Pink Theme Blue Theme
- हिंदी में


Official Website Of Department Of Fisheries Government Of Uttarakhand
- Home
- Media Gallery
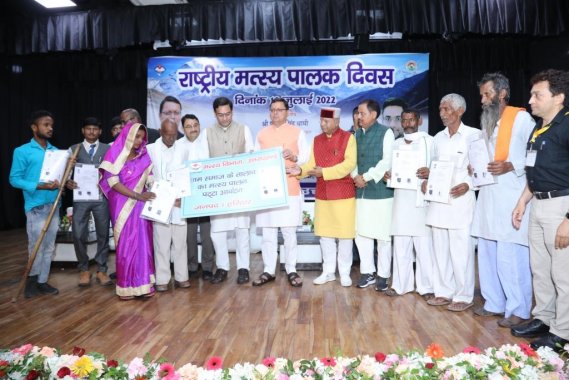
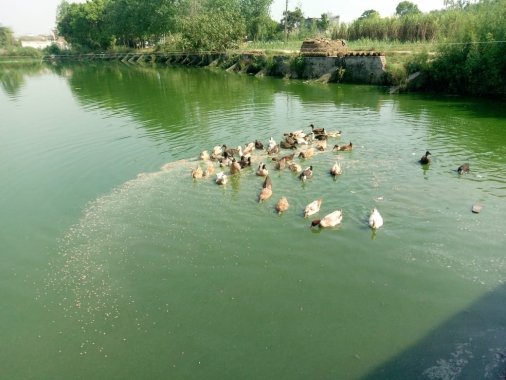
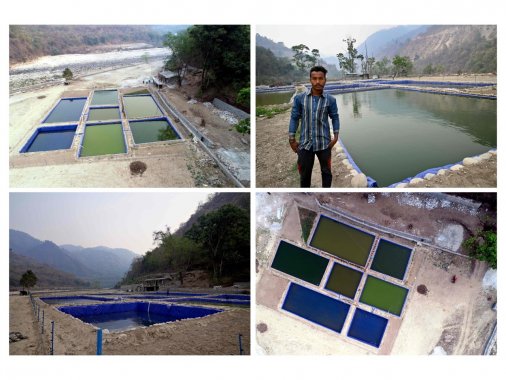
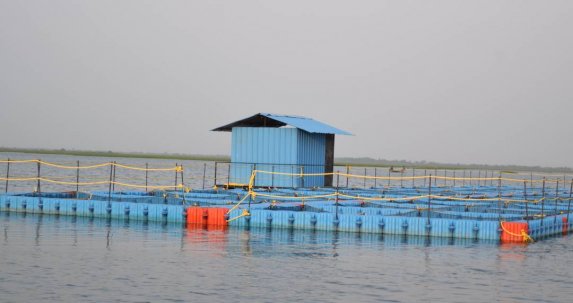
- Photo Gallery
- Test1
Photo Gallery
Test1

Page 1 of 1, each having 9 photos out of a total 9
<< previous | | next >>